Microsite Concept with Rotating Background

Hello, devs. This time around, we'll put our heads together to create a Microsite with HTML5, CSS3 and JavaScript.
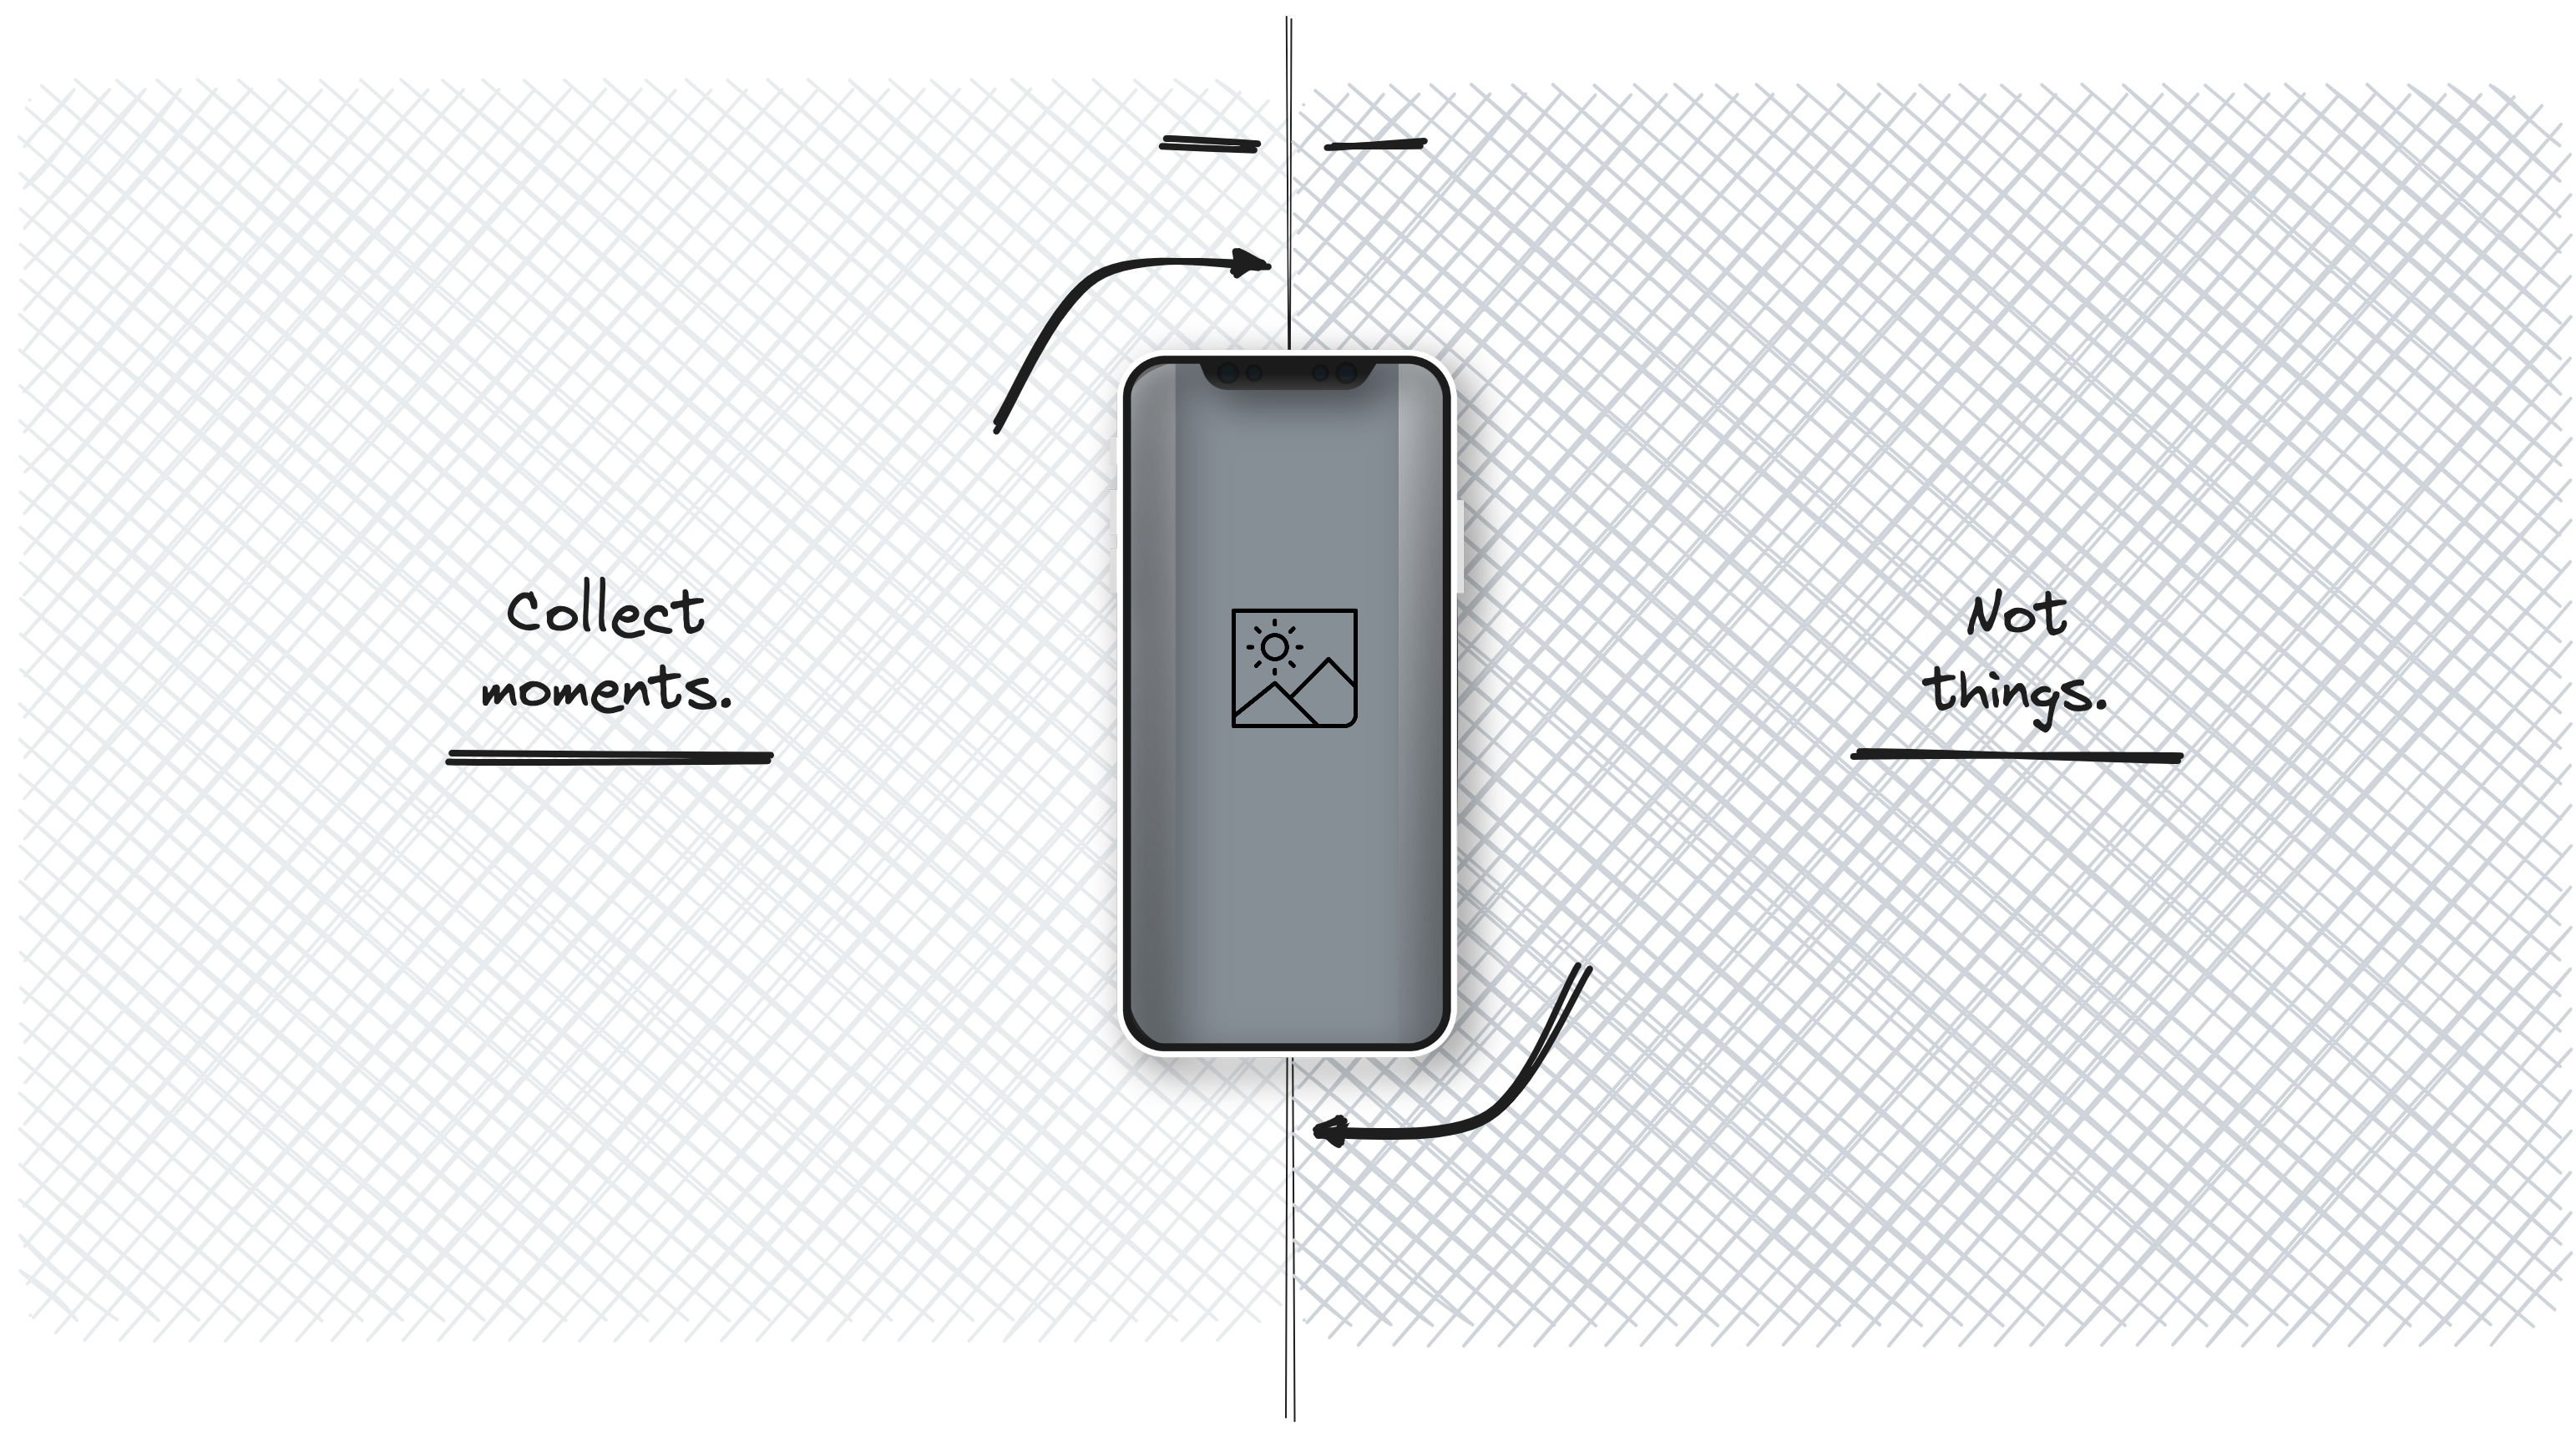
You can think of it as something you might use when presenting a new product or a new app, complete with captivating animations. These animations include an intriguing background rotation, complemented by smooth image transitions, and text that gracefully fades in and out. This text animates in sync with the background, moving in one direction when we click the "NEXT" button and in the opposite direction when we click the "PREV" button. Let's dive in and have some coding fun!
Our example consists of a simple CSS section, an even simpler HTML section, and a slightly more complex JavaScript code, which we will explain in detail later in the article.
We will omit the CSS section from the article to keep it as clean and readable as possible. But, as I mentioned earlier, the CSS part is straightforward, and there's no coding magic within it that requires a detailed explanation.
HTML Part
While at first glance, the HTML section in the snippet below may seem complicated, I wasn't kidding when I said at the beginning of the text that the HTML part is very straightforward. Now, you will see for yourself that it truly is. 😊
1<section class="slider">
2
3  <!-- slider:background START -->
4  <div class="slides-background"></div>
5  <!-- slider:background END -->
6
7  <!-- slider:container START -->
8  <div class="slides-container">
9
10    <!-- slider:iphone START -->
11    <div class="slides-iphone">
12      <div class="iphone"></div>
13      <div class="image" style="background-image: url(assets/img/img-1.jpeg);"></div>
14      <div class="image-blank"></div>
15    </div>
16    <!-- slider:iphone END -->
17
18    <!-- slider:container:slide START -->
19    <span>
20      <article id="slide-01" data-id="0" class="slide is-active" data-bcg="assets/img/img-1.jpeg">
21        <div class="slide__content slide__content_left">
22          <h1 class="slide__title slide__title_left">
23            Be a voice.
24            <span>Never stop dreaming.</span>
25          </h1>
26        </div>
27        <div class="slide__content slide__content_right">
28          <h1 class="slide__title slide__title_right">
29            Not an echo.
30            <span>Never stop dreaming.</span>
31          </h1>
32        </div>
33      </article>
34      <!-- slider:container:slide END -->
35
36      <!-- slider:container:slide START -->
37      <article id="slide-02" data-id="1" class="slide" data-bcg="assets/img/img-2.jpeg">
38        <!-- ... -->
39      </article>
40      <!-- slider:container:slide END -->
41
42      <!-- slider:container:slide START -->
43      <article id="slide-03" data-id="2" class="slide" data-bcg="assets/img/img-3.jpeg">
44        <!-- ... -->
45      </article>
46    </span>
47    <!-- slider:container:slide END -->
48
49  </div>
50  <!-- slider:container START -->
51
52</section>
53<!-- microsite END -->
If we break down the snippet above into smaller parts, you will see that the HTML section consists of several smaller components. These components include a div element with the class "slides-background," which will serve as our background holder. Additionally, there's a div element with the class "slides-iphone," acting as the holder for our mobile phone or, in other words, our image section. Lastly, we have slides with the class "slide," which will serve as holders for our text, both on the left and right sides.
Explanation of the JavaScript code
To begin, we will set up our JavaScript function. Here is the simplified code snippet for our initSlider function.
1const initSlider = () => {
2  // DOM element selection
3  const slider = document.querySelector('.slider');
4
5  // Ensure all background images are loaded
6  imagesLoaded(slider, { background: true }, () => {
7    // Loader animation
8    const loader = document.querySelector('.loader');
9    loader.classList.add('is-loaded');
10
11    // Other variable and event listener initializations
12    // It will be explained further in the text
13    // ...
14
15    // Start the magic
16    init();
17  });
18};
19
20// Initialize the slider
21initSlider();
Navigation
Our slider includes navigation controls. Event listeners are attached to "Previous" and "Next" links, ensuring that transitions only occur when it's appropriate. We use a isTransitioning flag to prevent multiple transitions from happening simultaneously.
1// ...
2
3const slideActive = document.querySelector('.slide.is-active');
4const mainNavLinkPrev = document.querySelector('.main-nav__link.prev');
5const mainNavLinkNext = document.querySelector('.main-nav__link.next');
6const docBody = document.querySelector('body');
7let counter = 0;
8
9let isTransitioning = false;
10
11const init = () => {
12  gsap.set(slideActive, { autoAlpha: 1 });
13  gsap.set(slideActive.querySelector('.slide__background'), { autoAlpha: 1, y: "0%" });
14  gsap.set(slideActive.querySelector('.slide__content_left'), { autoAlpha: 1, y: "0%" });
15  gsap.set(slideActive.querySelector('.slide__content_right'), { autoAlpha: 1, y: "0%" });
16  gsap.set(docBody, { className: '-=is-loading' });
17
18  mainNavLinkPrev.addEventListener('click', (event) => {
19    if (!isTransitioning) {
20      isTransitioning = true;
21
22      event.preventDefault();
23      navigateToPrevSlide();
24    }
25  });
26
27  mainNavLinkNext.addEventListener('click', (event) => {
28    if (!isTransitioning) {
29      isTransitioning = true;
30
31      event.preventDefault();
32      navigateToNextSlide();
33    }
34  });
35};
36
37const navigateToPrevSlide = () => {
38  const currentSlide = document.querySelector('.slide.is-active');
39  const prevSlide = currentSlide.previousElementSibling;
40  if (prevSlide) {
41    if (!docBody.classList.contains('is-animating')) {
42      counter = counter - 180;
43    }
44    // Scroll to active section -> Look further in the text under the heading "Smooth Slide Transitions"
45    scrollToSection(currentSlide, prevSlide);
46  }
47};
48
49const navigateToNextSlide = () => {
50  const currentSlide = document.querySelector('.slide.is-active');
51  const nextSlide = currentSlide.nextElementSibling;
52  if (nextSlide) {
53    if (!docBody.classList.contains('is-animating')) {
54      counter = counter + 180;
55    }
56    // Scroll to active section -> Look further in the text under the heading "Smooth Slide Transitions"
57    scrollToSection(currentSlide, nextSlide);
58  }
59};
60
61// ...
Smooth Slide Transitions
The heart of our slider lies in the smooth transitions between slides. We use GSAP timelines to orchestrate these animations:
1// ...
2
3const scrollToSection = (sectionFrom, sectionTo) => {
4  const background = document.querySelector('.slides-background');
5  const iphone = document.querySelector('.image');
6  const iphoneBcg = sectionTo.dataset.bcg;
7  const titleLeft = sectionTo.querySelector('.slide__title_left');
8  const titleRight = sectionTo.querySelector('.slide__title_right');
9  const contentLeft = sectionTo.querySelector('.slide__content_left');
10  const contentLeftFrom = sectionFrom.querySelector('.slide__content_left');
11  const contentRight = sectionTo.querySelector('.slide__content_right');
12  const contentRightFrom = sectionFrom.querySelector('.slide__content_right');
13  const masterTimeline = gsap.timeline({ paused: true, onComplete: () => {
14    isTransitioning = false;
15  }});
16  const tlScrollDown = gsap.timeline();
17  const tlScrollUp = gsap.timeline();
18
19  tlScrollDown
20    .set(docBody, { className: '+=is-animating' })
21    .set(sectionTo, { autoAlpha: 1 })
22    .to(sectionFrom, 1.2, { autoAlpha: 0, ease: 'power4.inOut' }, '0')
23    .to(sectionTo, 1.2, { autoAlpha: 1, ease: 'power4.inOut' }, '0')
24    .to(background, 1.2, { rotation: counter, transformStyle: "preserve-3d", ease: 'expo.inOut' }, '0')
25    .to(iphone, 0.6, { autoAlpha: 0, ease: 'expo.inOut' }, 0.6)
26    .set(iphone, { backgroundImage: `url(${iphoneBcg})` })
27    .fromTo(iphone, 0.6, { autoAlpha: 0 }, { autoAlpha: 1, ease: 'expo.inOut' }, '+=0.15')
28    .fromTo(titleLeft, 0.35, { autoAlpha: 0, y: 40 }, { autoAlpha: 1, y: 0, ease: 'power4.inOut' }, '-=0.35')
29    .to(contentLeftFrom, 1.2, { autoAlpha: 0, y: '-100%', ease: 'expo.inOut', clearProps: 'y' }, '0')
30    .fromTo(contentLeft, 1.2, { autoAlpha: 0, y: '100%' }, { autoAlpha: 1, y: '0%', ease: 'expo.inOut' }, '0')
31    .fromTo(titleRight, 0.35, { autoAlpha: 0, y: -40 }, { autoAlpha: 1, y: 0, ease: 'power4.inOut' }, '-=0.35')
32    .to(contentRightFrom, 1.2, { autoAlpha: 0, y: '100%', ease: 'expo.inOut', clearProps: 'y' }, '0')
33    .fromTo(contentRight, 1.2, { autoAlpha: 0, y: '-100%' }, { autoAlpha: 1, y: '0%', ease: 'expo.inOut' }, '0')
34    .set(docBody, { className: '-=is-animating' });
35
36  tlScrollUp
37    .set(docBody, { className: '+=is-animating' })
38    .set(sectionTo, { autoAlpha: 1 })
39    .to(sectionFrom, 1.2, { autoAlpha: 0, ease: 'power4.inOut' }, '0')
40    .to(sectionTo, 1.2, { autoAlpha: 1, ease: 'power4.inOut' }, '0')
41    .to(background, 1.2, { rotation: counter, transformStyle: "preserve-3d", ease: 'expo.inOut' }, '0')
42    .to(iphone, 0.6, { autoAlpha: 0, ease: 'expo.inOut' }, 0.6)
43    .set(iphone, { backgroundImage: `url(${iphoneBcg})` })
44    .fromTo(iphone, 0.6, { autoAlpha: 0 }, { autoAlpha: 1, ease: 'expo.inOut' }, '+=0.15')
45    .fromTo(titleLeft, 0.35, { autoAlpha: 0, y: -40 }, { autoAlpha: 1, y: 0, ease: 'power4.inOut' }, '-=0.35')
46    .to(contentLeftFrom, 1.2, { autoAlpha: 0, y: '100%', ease: 'expo.inOut', clearProps: 'y' }, '0')
47    .fromTo(contentLeft, 1.2, { autoAlpha: 0, y: '-100%' }, { autoAlpha: 1, y: '0%', ease: 'expo.inOut' }, '0')
48    .fromTo(titleRight, 0.35, { autoAlpha: 0, y: 40 }, { autoAlpha: 1, y: 0, ease: 'power4.inOut' }, '-=0.35')
49    .to(contentRightFrom, 1.2, { autoAlpha: 0, y: '-100%', ease: 'expo.inOut', clearProps: 'y' }, '0')
50    .fromTo(contentRight, 1.2, { autoAlpha: 0, y: '100%' }, { autoAlpha: 1, y: '0%', ease: 'expo.inOut' }, '0')
51    .set(docBody, { className: '-=is-animating' });
52
53  if (sectionFrom.dataset.id < sectionTo.dataset.id) {
54    masterTimeline.add(tlScrollUp);
55  } else {
56    masterTimeline.add(tlScrollDown);
57  }
58
59  // Play the animation
60  masterTimeline.play();
61
62  // Set active section -> Look further in the text under the heading "Updating the Active Slide"
63  setActiveSection(sectionFrom, sectionTo);
64
65  // Update navigation -> Continue reading in the text under the heading "Managing Navigation Links"
66  updateNavigation();
67};
68
69// ...
The tlScrollDown and tlScrollUp timelines handle the content animations, background rotation, and image fades. These timelines are then controlled by a masterTimeline.
Updating the Active Slide
The setActiveSection function is responsible for updating the active slide by adding and removing the „is-active“ class. This keeps track of which slide is currently displayed.
1// ...
2
3const setActiveSection = (sectionFrom, sectionTo) => {
4  sectionFrom.classList.remove('is-active');
5  sectionTo.classList.add('is-active');
6};
7
8// ...
Managing Navigation Links
The updateNavigation function dynamically manages the state of navigation links based on the active slide. It toggles the „disabled“ class to prevent navigating to non-existent slides.
1// ...
2
3const updateNavigation = () => {
4  const currentSlide = document.querySelector('.slide.is-active');
5  mainNavLinkPrev.classList.toggle('disabled', !currentSlide.previousElementSibling);
6  mainNavLinkNext.classList.toggle('disabled', !currentSlide.nextElementSibling);
7};
8
9// ...
By combining JavaScript, GSAP, and careful planning, we've created a stunning background slider for our microsite. With smooth transitions, a rotating background, and captivating content animations, this slider will surely grab your users' attention. Feel free to customize it further to match your site's aesthetics and content.
I hope you find this slider not only visually appealing but also a valuable addition to your microsite.
Happy coding! 😊
Credits
- The inspiration for effects and Layout comes from SELECTO
- GSAP by Greensock
- imagesLoaded by David DeSandro
- Images by Unsplash.com
- Font Montserrat by Google Fonts
- Simple Loader by loading.io
- Text by Wisdom Quotes
- iPhone design vector created by freepik.com